
🔴 Issue: Leakage (Prime)Updated 3 months ago
1️⃣ Understanding the Issue
To properly diagnose leakage, check the color of the liquid:
| Defect Status | Liquid Color | Classification |
| ✅ Not a Defect | Clear/transparent | 💧 Water Leakage |
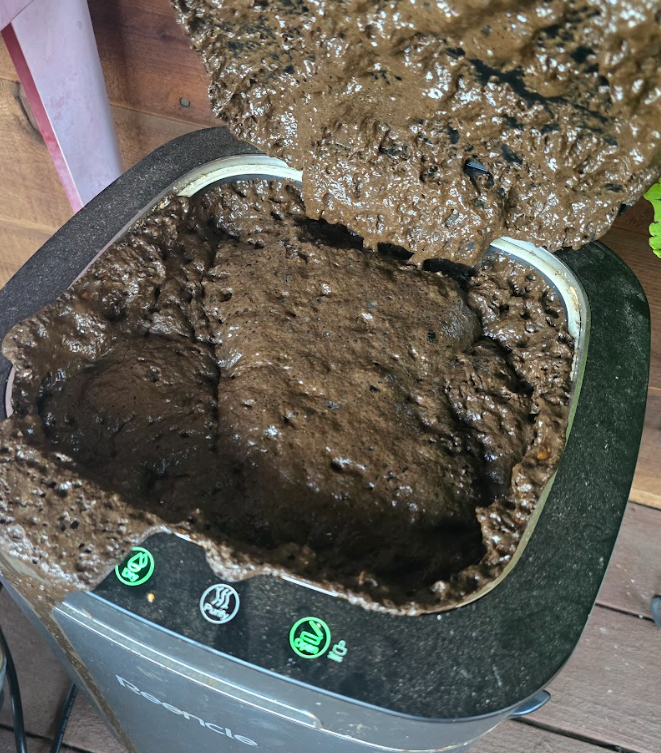
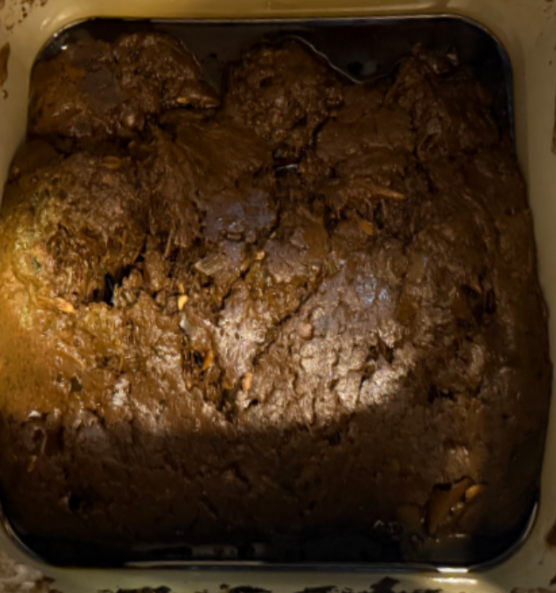
| ✅ Not a Defect | Colored(typically brown or black) | 🛢 Oil Leakage |
2️⃣ Why Does This Happen?
- 💧 Water leakage
Water leakage is usually caused by one of two things:
| Cause | Explanation |
| ❄️ Weather changes | Reencle's internal heating element keeps the unit at a consistently warm temperature. This warm air circulates and exits from the rear-lower vent. When it meets colder outside air (common late fall–early spring, or on days with a wide day/night temperature gap), condensation forms — which can appear as water leakage. |
| 🔄 Carbon filter nearing end of life | Over time, the carbon filter loses its ability to manage airflow and moisture properly, which can contribute to leakage. Since Reencle creates real compost using a living microbial system, moisture and organic breakdown are a normal part of the process. |
- 🛢 Oil leakage
Reencle is built as a sealed system, so under normal conditions, liquid does not leak out on its own. Oil leakage typically happens when:
- Microorganisms become too wet, oily, or compacted
- Oily or moist food waste continues to be added while the microbes are already out of balance
When this happens, oil can slowly seep through internal gaps (such as the stirring rod area) — and if left untreated, may appear as visible leakage over time.
3️⃣ Solution
1. 💧 Water Leakage: Here's How to Fix It
Is it currently cold where you are (late fall–early spring, or large day/night temperature swings)?
✔Option A — Winter Response
If it's cold where you are, here's what usually helps:
- Gently tilt the unit to let any remaining water drain out
- Move it to a warmer spot indoors, if possible
- Place a tray underneath for a couple of days, just to keep an eye on things
Still leaking after that? No worries — replacing the carbon filter usually does the trick.
✔Option B — Non-Winter Response
Since it's probably not condensation-related this time, replacing the carbon filter should take care of it.
Please select the filter your unit uses:
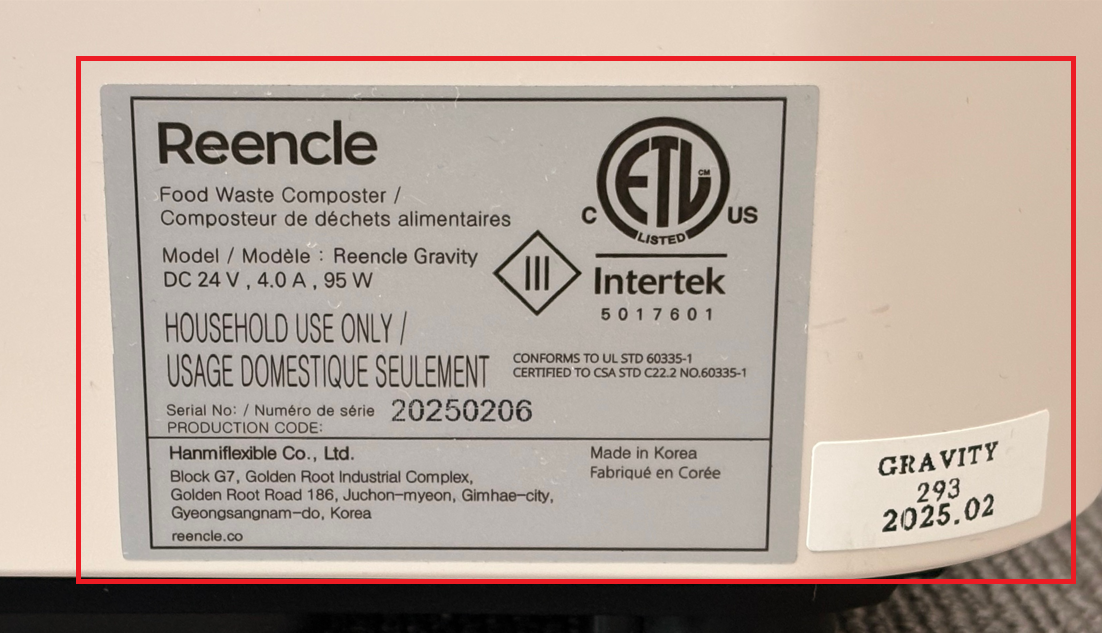
⚠️ Note: Prime and Gravity filters are not interchangeable — please choose the correct model to avoid compatibility issues.
| Option | Filter | Link |
| A | Prime Carbon Filter | 🛒 Shop Prime Carbon Filter |
| B | Gravity Carbon Filter | 🛒 Shop Gravity Carbon Filter |
| C | Not sure / Carbon Refill only | 🛒 Shop Carbon Refill |
2. 🛢 Oil Leakage: Here's How to Fix It
Since oil leakage stems from microbial imbalance rather than a mechanical defect, resolving it requires removing and inspecting the microorganisms, then checking the unit's internal condition.
| Step 1: Remove & Set Aside Microorganisms |
|
| Step 2: Disassemble & Inspect |
Please follow the video guide for your model: 🔗 Prime: Disassembly Guide Video |
| Step 3: Share Internal Condition Photo |
| 📷 Once disassembled, please share a photo of the internal condition. |
Step 4: Check Internal Contamination |
Once disassembled, check the internal condition:
|
| Step 5: Recover the Microorganisms |
(Follow this step only if internal contamination was minor — Step 4.)
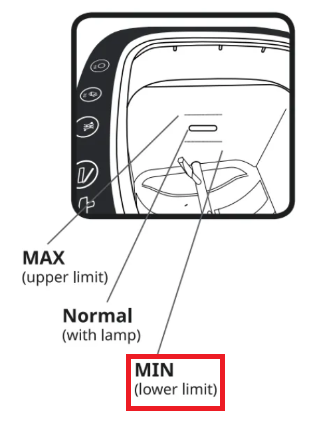
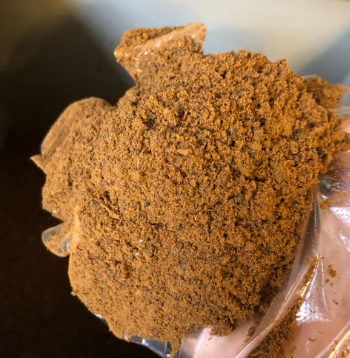
✅ Once the microorganisms return to a healthy, soil-like texture, you may resume adding food waste. |
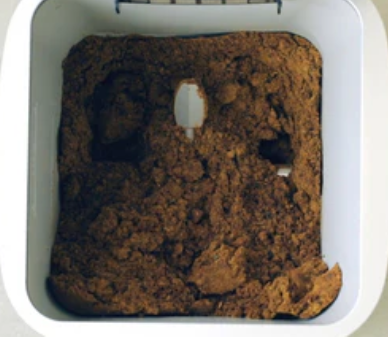 ⚠️ About the Dry button:
4️⃣Please submit the following
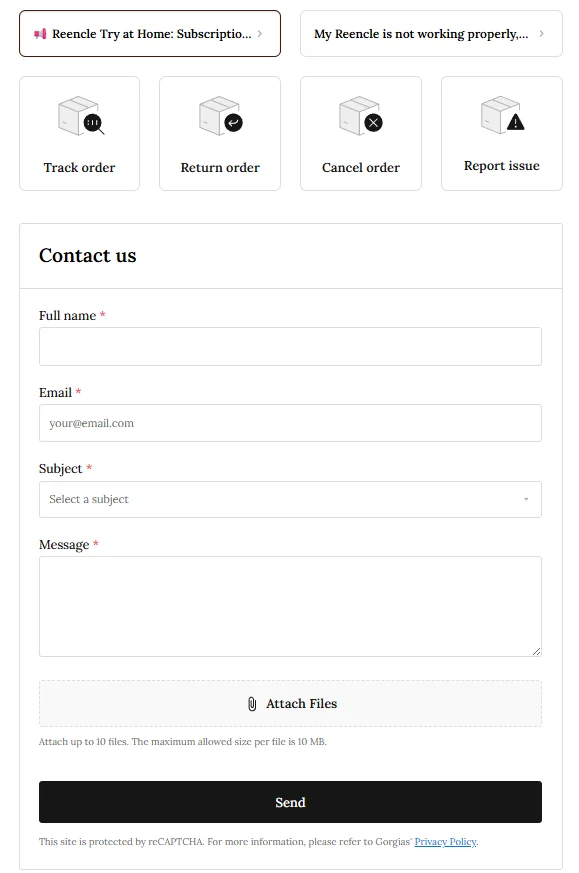
1. Click 👉"Contact Form" 2. Fill out "Full name" and "Email" 3. Select "Report issue" as the subject 4. Include the following in the message box:
⚠️ Please make sure to describe which steps you've already completed — this helps us avoid asking you to repeat troubleshooting you've already done, and speeds up processing your request. |
🔵 Alternative
1. Click the orange chat icon (bottom right)

2. Select an option from the chat widget to get help right away
