
📦 Unboxing & Initial Setup — Reencle GravityUpdated an hour ago
1️⃣ Overview
Setting up your Reencle Gravity takes only a few minutes — no professional installation or special tools required.
2️⃣ What's in the Box
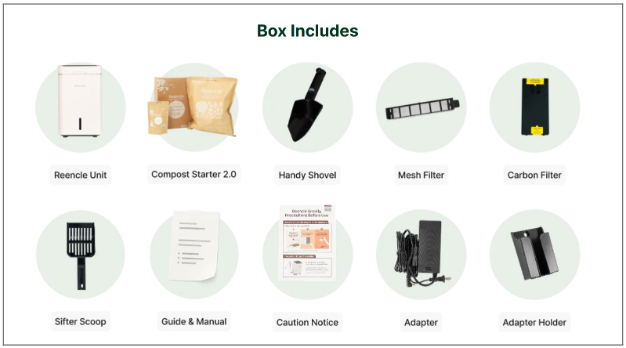
The Reencle Gravity ships as a single package containing the main unit and the Gravity Accessories Tool Box. Confirm all items are present before you begin.
Item | Quantity |
Reencle Gravity Main Unit | 1 |
Compost Starter 2.0 (Microbes + Booster Pack) | 1 |
Handy Shovel | 1 |
Mesh Filter | 1 |
Carbon Filter | 1 |
Sifter Scoop | 1 |
User Manual | 1 |
Caution Notice | 1 |
Guide Sheet | 1 |
Adapter | 1 |
Adapter Holder | 1 |
💡 The Mesh Filter and Carbon Filter are pre-installed on the main unit.
❗ Missing or damaged item? Contact [email protected] before proceeding.
3️⃣ Setup Steps —Gravity
1. Choose your location — Flat, stable surface in a well-ventilated area.
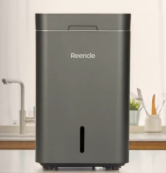
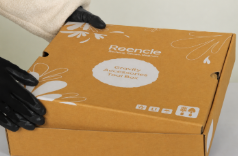
2. Unpack the accessories — Remove the items from the Gravity Accessories Tool Box. Confirm the Mesh Filter is installed; the Carbon Filter comes pre-attached to the rear.
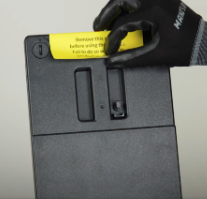
3. Remove the yellow sticker from the Carbon Filter — Leaving it on blocks airflow and prevents the filter from functioning.
4. Connect the power adapter — Attach it to the power cord, then insert the DC connector into the port on the rear of the unit.

5. Plug in the power cord — Confirm the green indicator light on the adapter is lit.

5. Add the full Compost Starter 2.0 pack — Pour the entire contents of both the microbes pack and booster pack evenly into the chamber. Do not use a partial pack.

6. Add water — Pour approx. 1.8L (4 lbs) evenly over the microbes.

7. Close the lid and power on — Heating activates immediately, but the chamber takes 2–3 hours to warm up. Wait 6–8 hours before adding food.

◻ About Compost Starter 2.0
An upgraded formula vs. the Prime's Starter 1.0:
| Pack | Contents & Purpose |
|---|---|
| Pack 1 — Microbes | Freeze-dried wood pellets: Bacillus microorganisms (decomposers), activated carbon (odor control), glucose (initial activation) |
| Pack 2 — Booster | Proprietary mineral compound that speeds microbe adaptation, reduces early odors, and improves decomposition performance |
⚠ Important Notes
- Prefer an open, well-ventilated space. If using a cabinet, ensure airflow and place a tray/mat underneath for moisture protection.
- Use the entire microbe + booster pack at once — partial use causes insufficient colony and odor/decomposition issues.
- No tools or technicians needed.
- Keep the unit powered on at all times — power-off drops temperature, sending microbes into dormancy and halting decomposition. See: 👉 Vacation Mode: Preparing for Absence
What to Do Next
Once the 6–8 hour activation period has passed, proceed to: 👉 Understanding Your Microbes — Initial Activation & Care